What’s 35-ds3chipdus3 & Why Even Bother?
Before jumping into the “how,” let’s get clear on the “why” — so the install makes sense, not just a checklist.
- 35-ds3chipdus3 is (as many sources suggest) a chip / module / interface component used in advanced systems — embedded boards, computers, etc. ukrtime.co.ua+1
- It’s designed to enhance performance, communication, stability, and efficient power utilisation. Spiritual Hubz+1
- Many guides stress that you should confirm compatibility (socket type, pin layout, board specifications) before installation. ukrtime.co.ua+2jbsagolf.com+2
So if your board doesn’t support it, no amount of tinkering will help — that’s always Step Zero.
Pre-flight: What You Need Before You Start
Trust me — going in unprepared causes more frustration than the actual install. Here’s your pre-check list:
| What to Prep | Why It Matters |
| Static protection (anti-static wrist strap or mat) | To avoid frying the chip or board |
| Clean, well-lit workspace | So small parts don’t go missing or get damaged |
| Proper screwdriver set, tweezers, tray for screws | You’ll need precision tools |
| Backup your system (if possible) | In case something goes wrong, your data is safe |
| Board documentation or schematic | Helps you ensure correct pin alignment & socket |
| The chip + any mounting hardware | Don’t start halfway and find you’re missing screws |
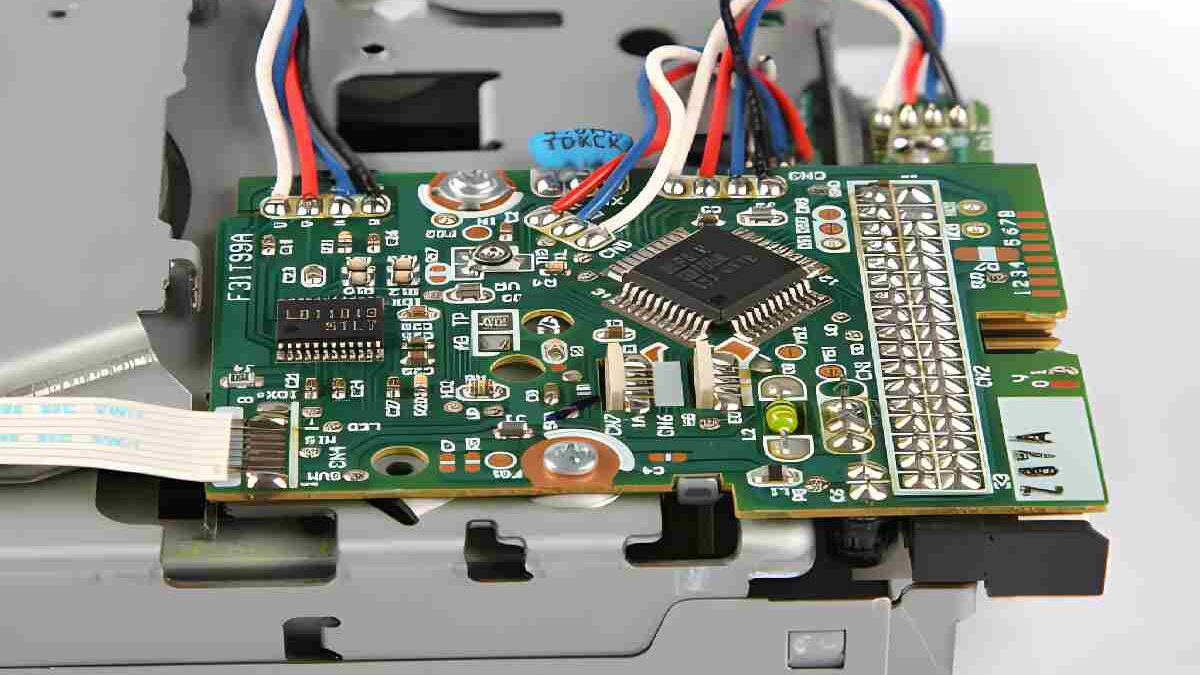
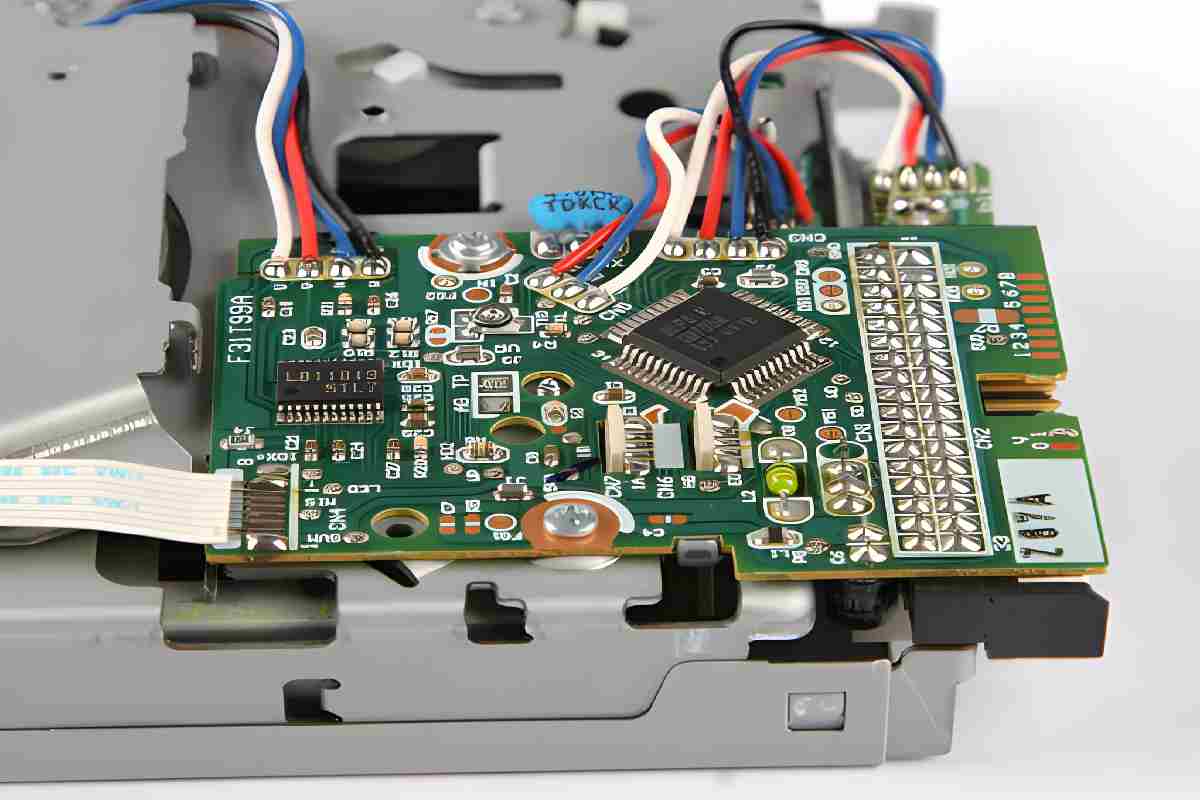
Step-by-Step: How to Install 35-ds3chipdus3
Here’s the meat. I’ll break it down in steps. I’m writing this assuming a physical chip / board install scenario (most referenced guides talk this way) jbsagolf.com+2Gearfuse+2
Tip: move slowly, double-check at each stage. Rushing = bad outcomes.
- Power Off & Unplug EVERYTHING
- Shut down your system fully.
- Disconnect all power sources (AC, battery, USB).
- Ground yourself (touch a metal case or use anti-static strap).
This is non-negotiable.
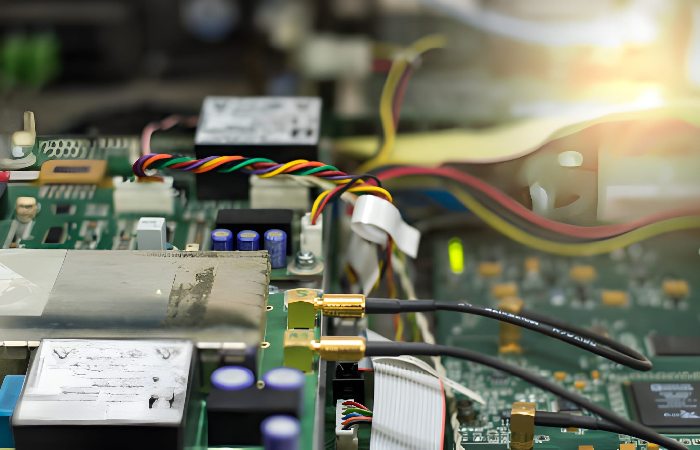
- Open the Device / Access the Board
- Remove the casing panels or covers.
- Keep screws in a tray, mark which goes where (trust me, you’ll forget).
- If there are connectors or cables attached to the panel you’re removing, gently disconnect them.
- Locate the Socket / Chip Slot
- Use your board manual or schematic to find the correct slot.
- Ensure that the socket type (pin count, shape) matches your chip.
- Look for a pin 1 marker or orientation notch on both the socket and chip. Misalignment here is a classic fail. ukrtime.co.ua+1
- Remove the Old Chip (if one exists)
- Release any clips or unscrew retainers.
- Gently lift the chip — avoid bending any pins.
- Clean the socket area (use isopropyl alcohol or a soft brush) so no debris or dust is present.
- Insert 35-ds3chipdus3 into the Socket
- Align pin 1 / orientation notch.
- Gently press until it seats evenly — don’t force one side harder than the other.
- If there are retaining screws or clips, secure them now.
A trick I always use: press corners diagonally (like top-left, bottom-right, then top-right, bottom-left) to balance the force.
- Reassemble the Device
- Carefully put back any connectors/cables you detached.
- Replace the cover/panel.
- Screw everything back in, in order.
- Avoid overtightening — you want it snug, not cracked.
- Power On & Initial Checks
- Reconnect power, turn on the device.
- Watch for POST indicators, LEDs, boot screen — make sure it’s behaving normally.
- If it refuses to boot or shows error codes, go back and check seating / alignment.
- Install Drivers / Firmware (if needed)
This depends on your system:
- If the chip comes with driver software (for Windows / Linux etc.), install that.
- Reboot if needed.
- Check device manager or equivalent to see if 35-ds3chipdus3 is recognized.
- Some versions allow command-line checks (ds3chipdus3 –version) in Linux. Gearfuse+1
- Run Performance / Sanity Tests
- Use benchmarking tools (CPU-Z, Geekbench, etc.) or specialized diagnostic software.
- Compare results with baseline before install.
- Monitor system stability, temperature, usage.
- Monitor Over the First Few Days
- Watch for overheating, crashes, weird behavior.
- If a problem emerges, try reseating the chip, updating firmware, or rolling back drivers.
- Take notes — if something fails, you’ll want to remember the symptoms.
Common Issues & Troubleshooting (Because Yeah, They Happen)
Here are some frequent hiccups and what you can try:
| Problem | Likely Cause | Fix |
| Device won’t boot | Chip misaligned, pins bent, bad connection | Power off, reseat the chip, check orientation |
| Chip not recognized | Missing driver, incompatible socket | Install correct driver, verify board compatibility |
| Overheating | Poor thermal contact or airflow | Check cooling, reapply thermal paste if needed |
| Instability / crashes | Bad electrical connection, firmware issue | Reseat, update firmware, test incremental changes |
| System refuses to install driver | OS version mismatch, driver unsigned | Get signed driver or correct version, run as admin |
One trick: if it won’t boot, boot with minimal components (just essential parts) to isolate where the issue is.
Real Examples & Tips
Let me tell you a quick story: a friend once installed a chip but forgot the orientation notch. His system booted … but kept crashing intermittently. We discovered one pin was shorted. After reseating correctly, it worked flawlessly. That taught me: orientation matters more than you imagine.
Another tip: I always take a photo of the board before dismantling. That way I don’t lose track of cable routing or screw positions.
Aftercare & Maintenance
- Monthly Driver / Firmware Checks: New releases can fix bugs or improve performance.
- Clean Internals: Dust can kill performance — use compressed air.
- Temperature Monitoring: Use software tools to keep an eye on temps, especially after load.
- Recheck Connections: Sometimes vibration or movement loosens things over months.
- Backup Configurations: If the chip has settings, backup them so you can restore later.
Quick Recap
- Check compatibility first — socket, board, specs.
- Prep your tools and workspace.
- Power off, open up, remove old chip (if present).
- Align and insert 35-ds3chipdus3 carefully.
- Reassemble, power on, install drivers, test it.
- Monitor over the next few days for issues.
That’s how to install 35-ds3chipdus3 — from start to finish.
Also Read: https://www.justtechweb.com/business-software-write-for-us-and-guest-post/